

This shop has been compensated by Schwarzkopf #KeratinColor #KeratinCares
I can’t believe how fast the summer is flying by until I look at my roots. I love being very blonde in the summer. Even though I was born a blonde, the blondness of my hair isn’t as vibrant as it once was. With that being said I have to color my hair every 4-6 weeks, which makes me realize summer will be coming to an end soon. I typically go to the salon to get my hair highlighted, but I am a single mom on a budget and getting highlights isn’t cheap. To spread out my trips to the salon, I color my hair at home to save money by using Schwarzkopf Keratin Color which I purchase at Walmart. 
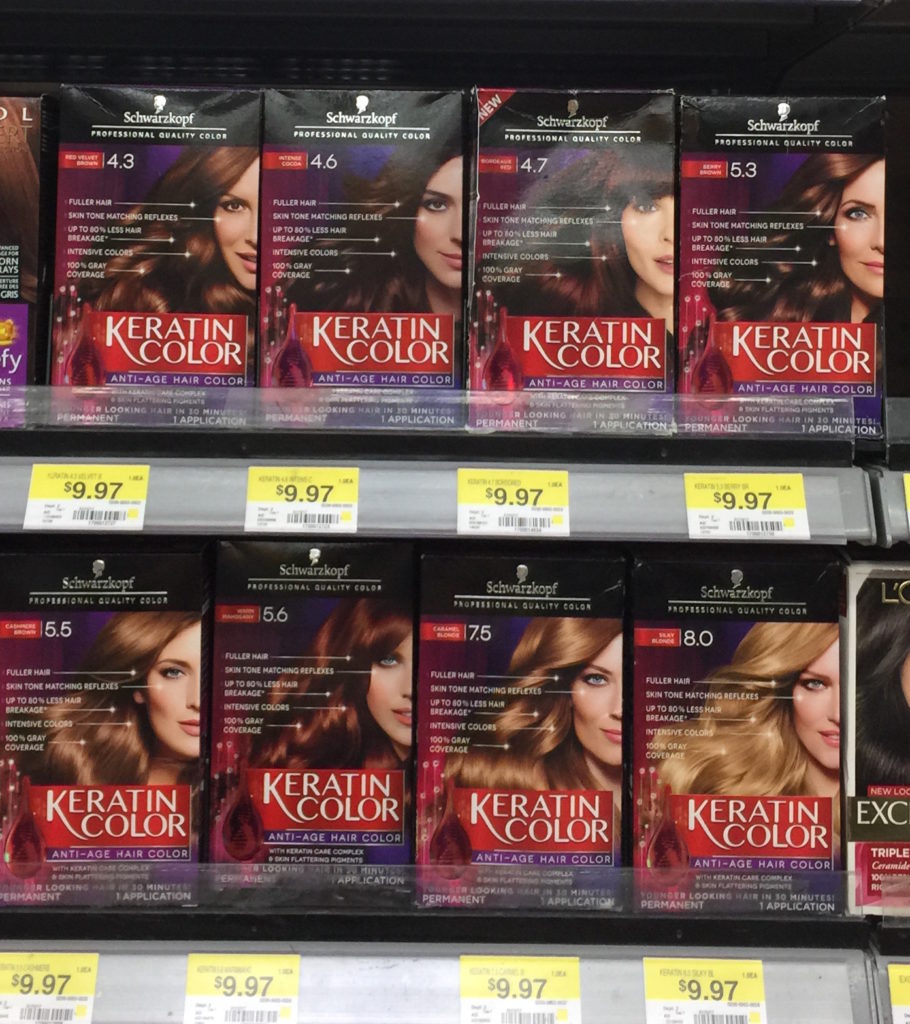
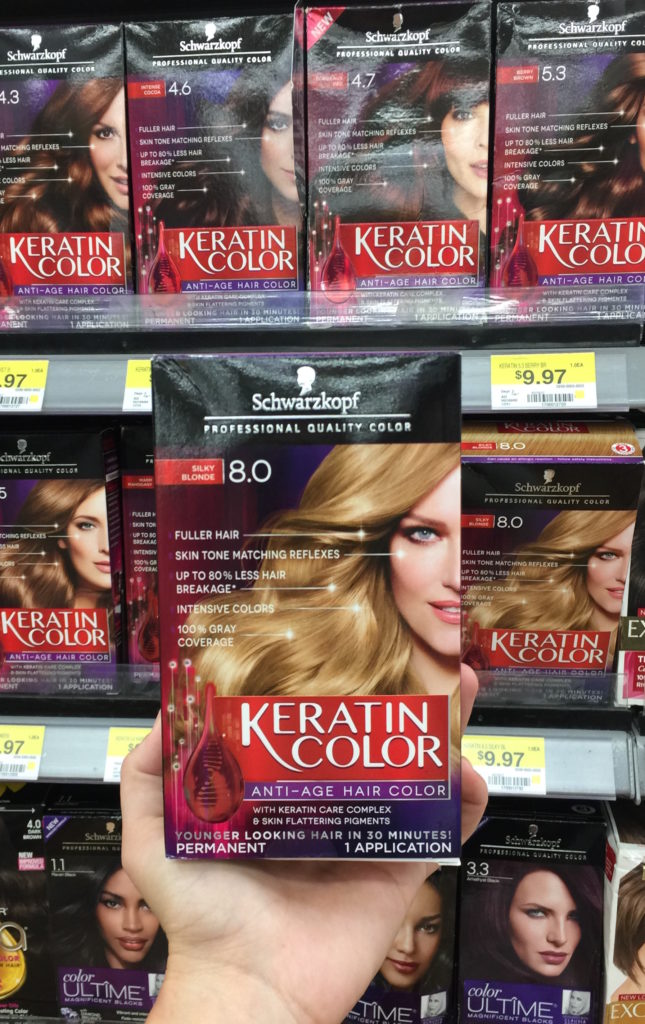
 Schwarzkopf Keratin Color gives you the option to professionally color your hair at home with flattering colors while caring for your hair. I use the Silky Blonde 8.0 color to touch up my roots.
Here is what my hair looks like when my roots have grown out. My last trip to the salon was towards the beginning of June. I have been coloring my hair at home for several years, and it’s quite easy to do if you follow these steps:
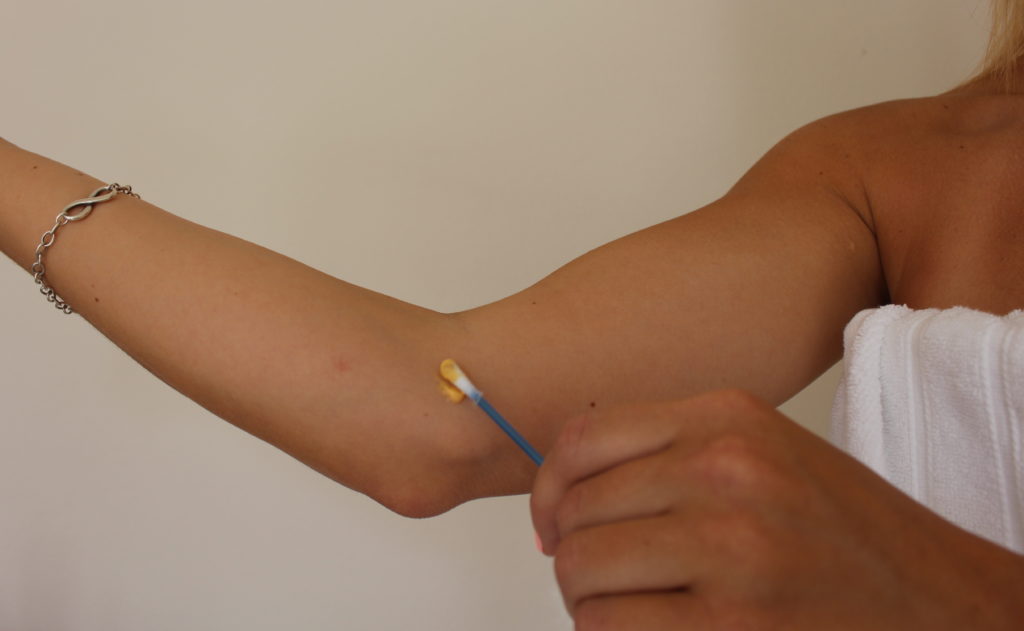
Before you get started you should perform an Allergy Test 48 hours before using this product. Apply a small amount of the Color Creme in a thin layer on the inside of your elbow with a cotton swab. Leave the area uncovered for 45 minutes, then wash off with luke-warm water. If any reaction occurs within the next 48 hours do not use the product. 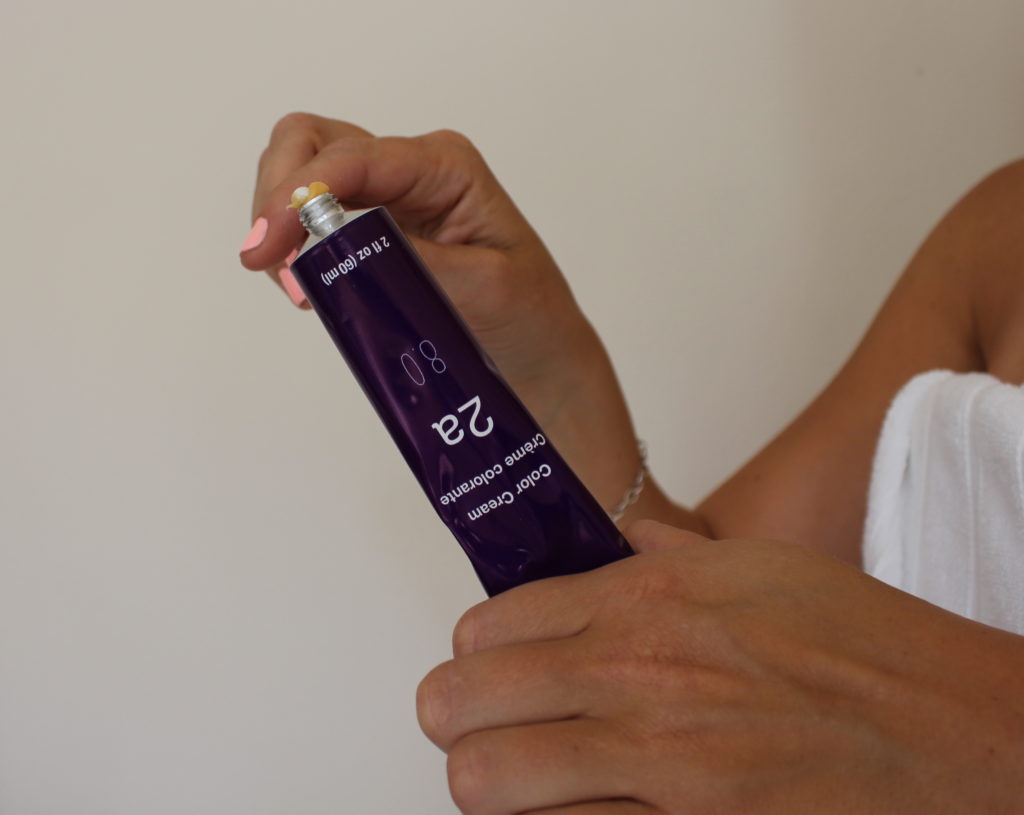
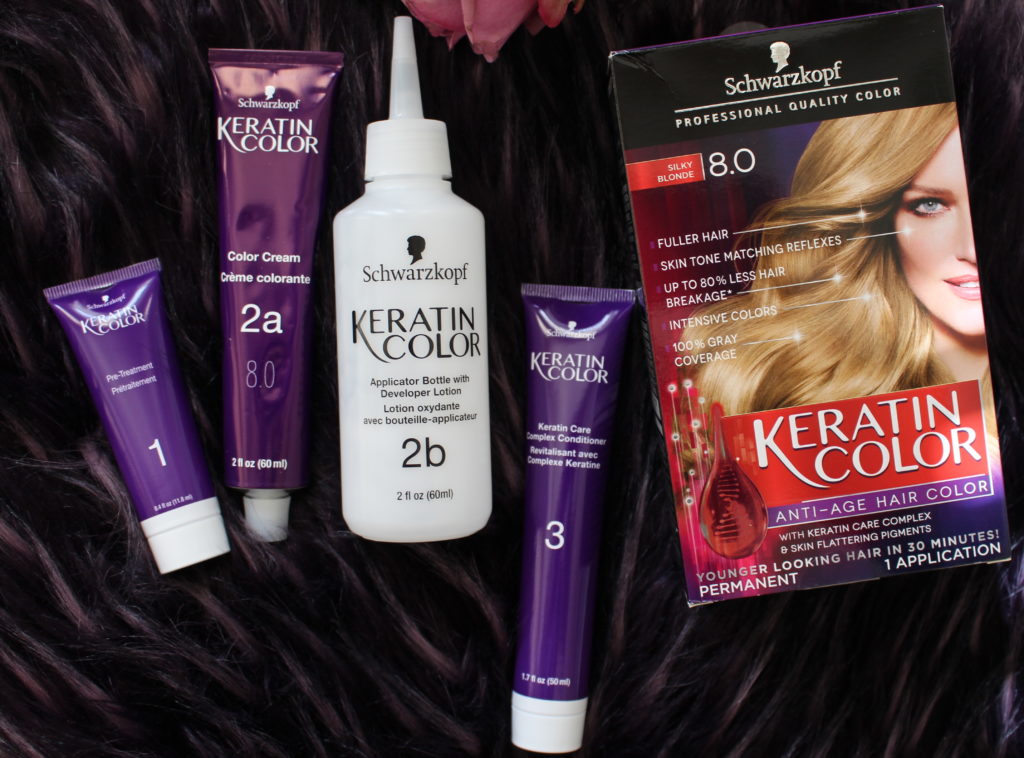
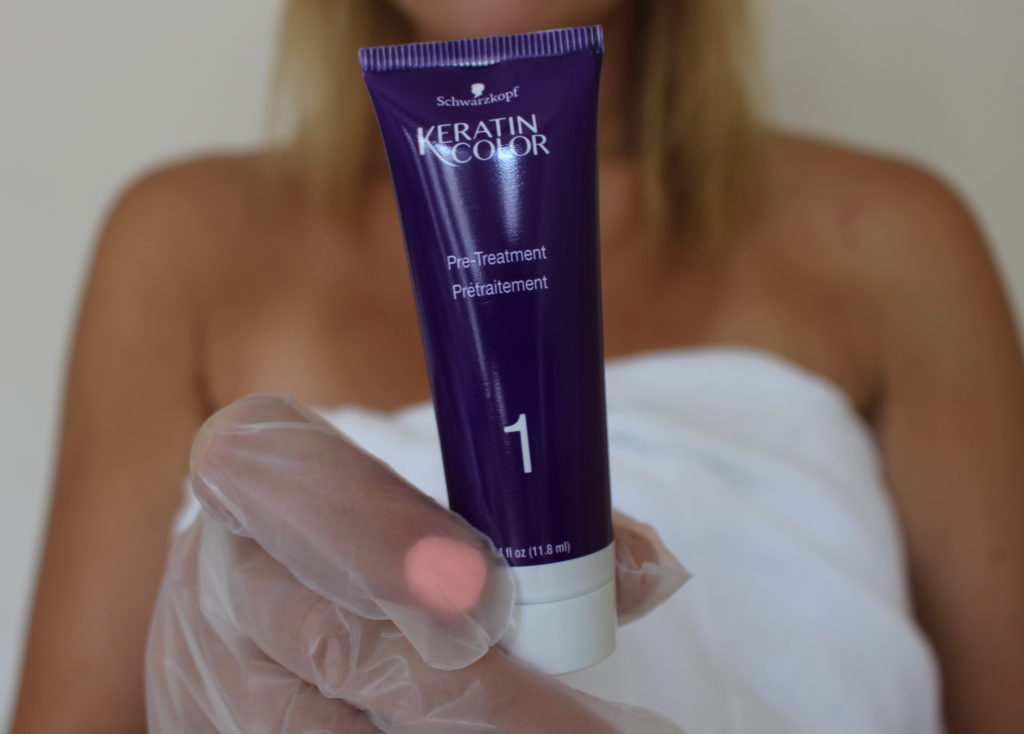
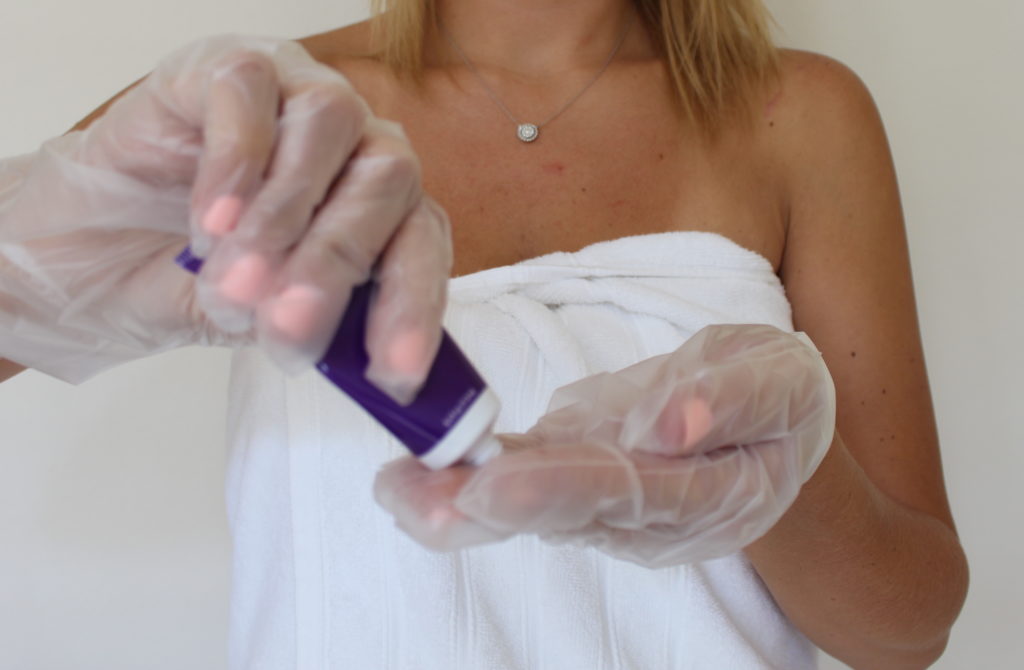
 Step 1. Preparation – Make sure you apply Schwarzkopf Keratin Color on dry, unwashed hair. Before coloring your hair put on the gloves and cover your clothes with an old towel. Then it is time to apply the Pre-Treatment onto the dry ends of your hair. The pre-treatment will provide extra nourishment to your ends, which is added benefit that most coloring products do not offer.
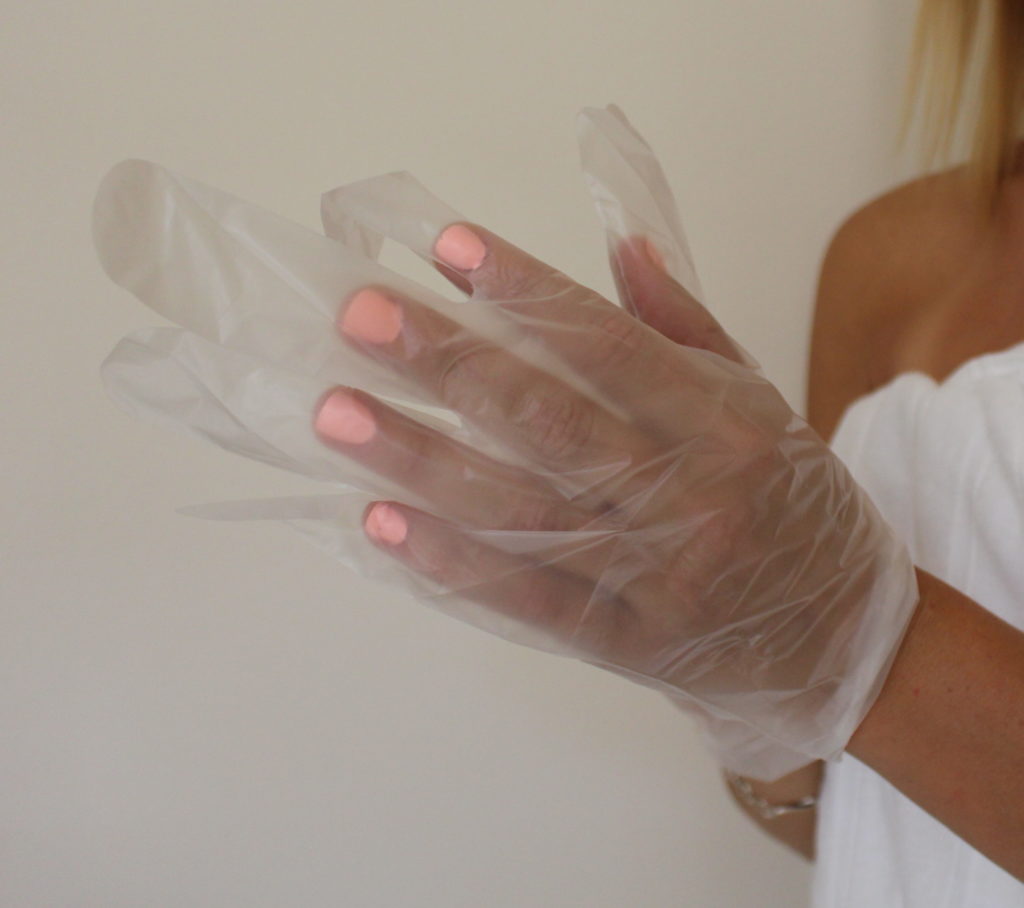
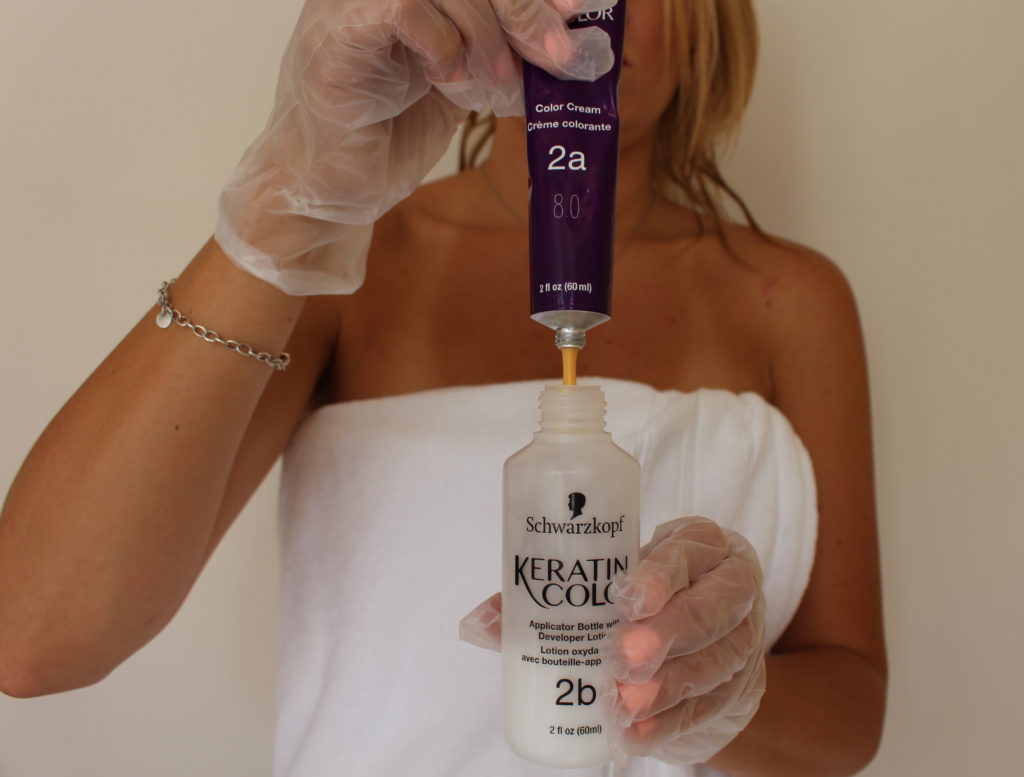
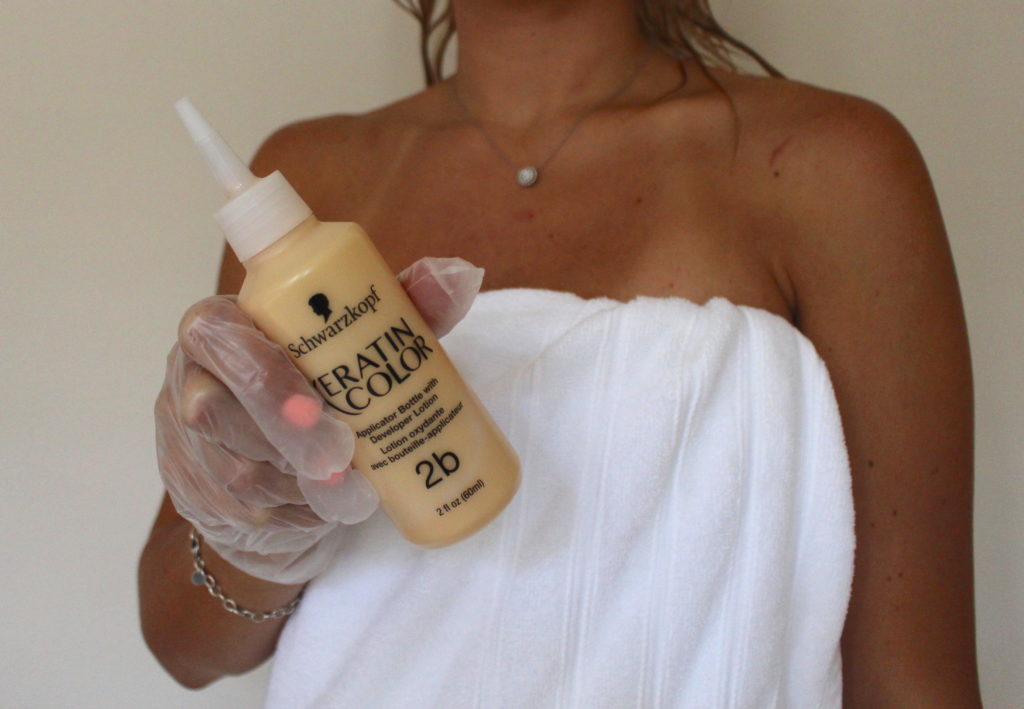
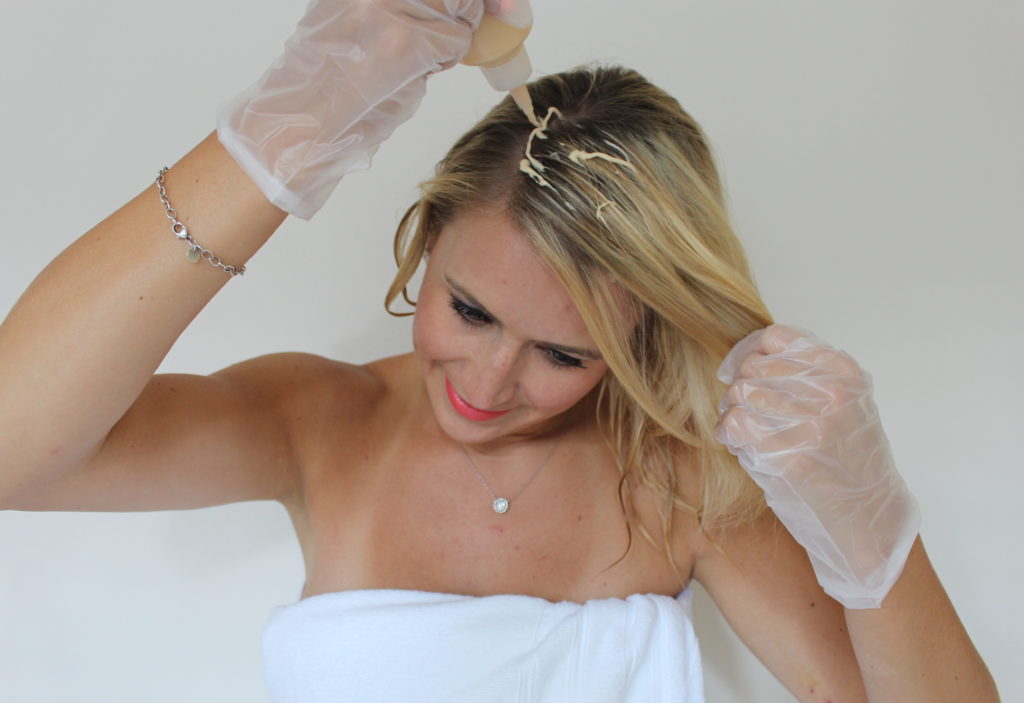
 Step 2. Mixing – Squeeze the entire Color Creme tube into the Application Bottle. After replacing the cap onto the Application Bottle, shake it until the mixture turns into smooth cream. Then twist off the cap and start the application process immediately.
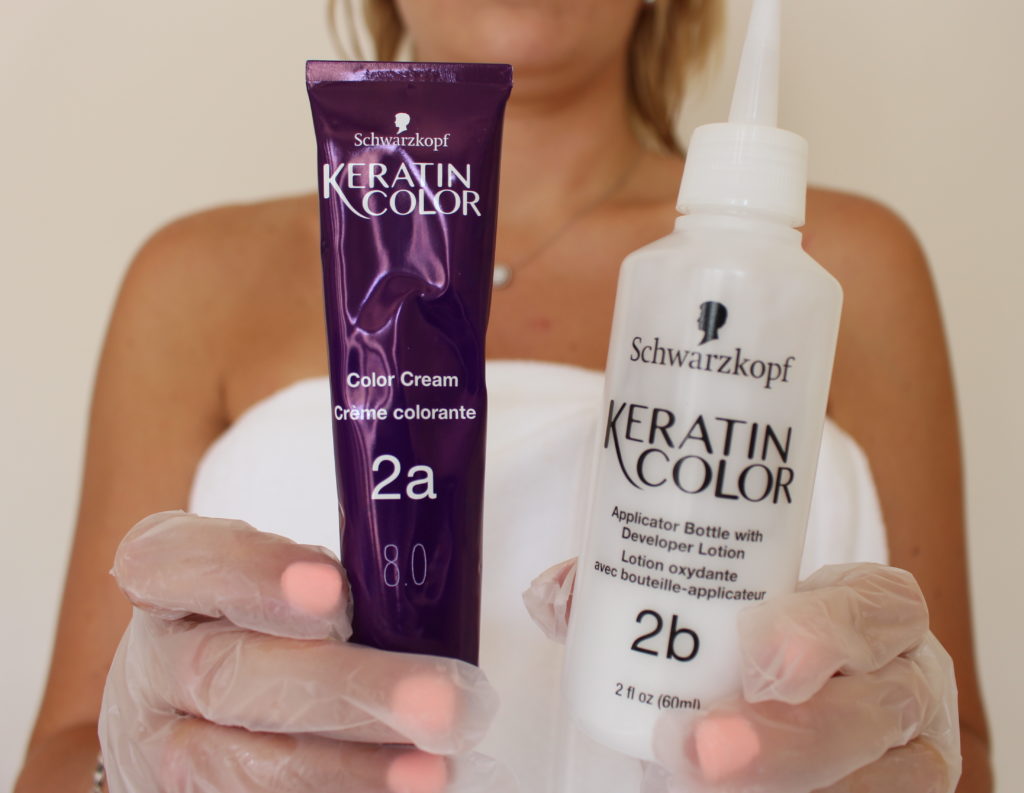
 Step 3 – Application
A. Full Head Application – If you are coloring your hair for the first time or your color has completely grown out, apply the entire mixture, strand after strand onto all of your hair. Then massage mixture in with your fingertips. Leave on your hair to develop for 30 minutes.
B. Regrowth Application – Since I had regrowth, I chose this method. Apply 2/3 of the mixture throughout the entire regrowth. Apply the mixture along the parting by massaging it into the roots with your fingertips. Once you have done this for all of the regrowth, leave on to develop for 20 minutes. 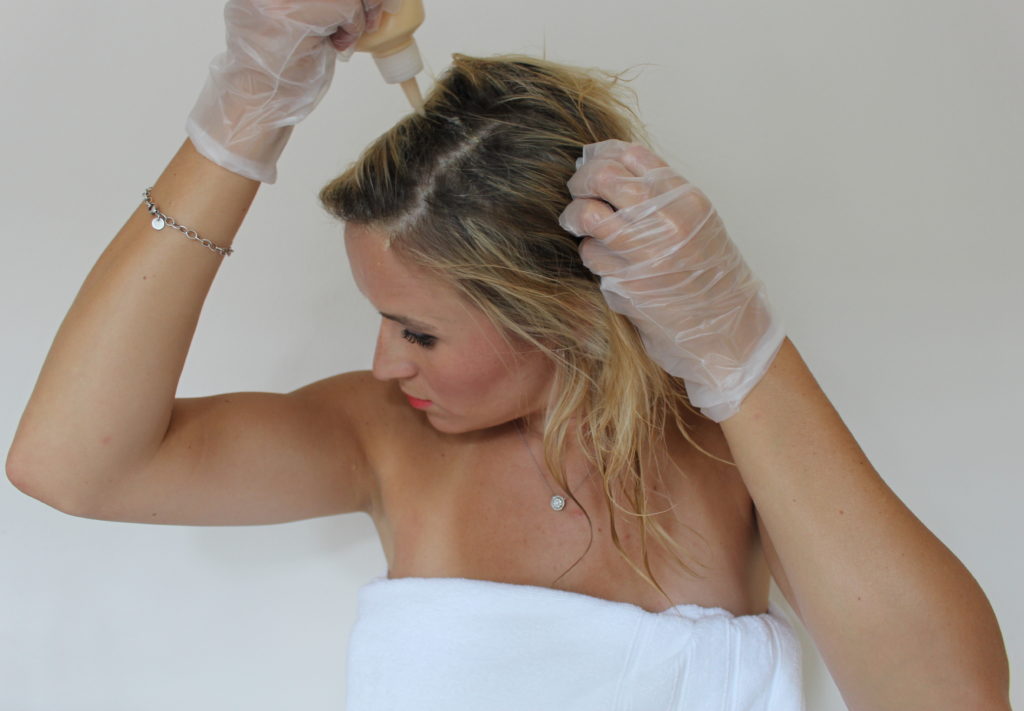
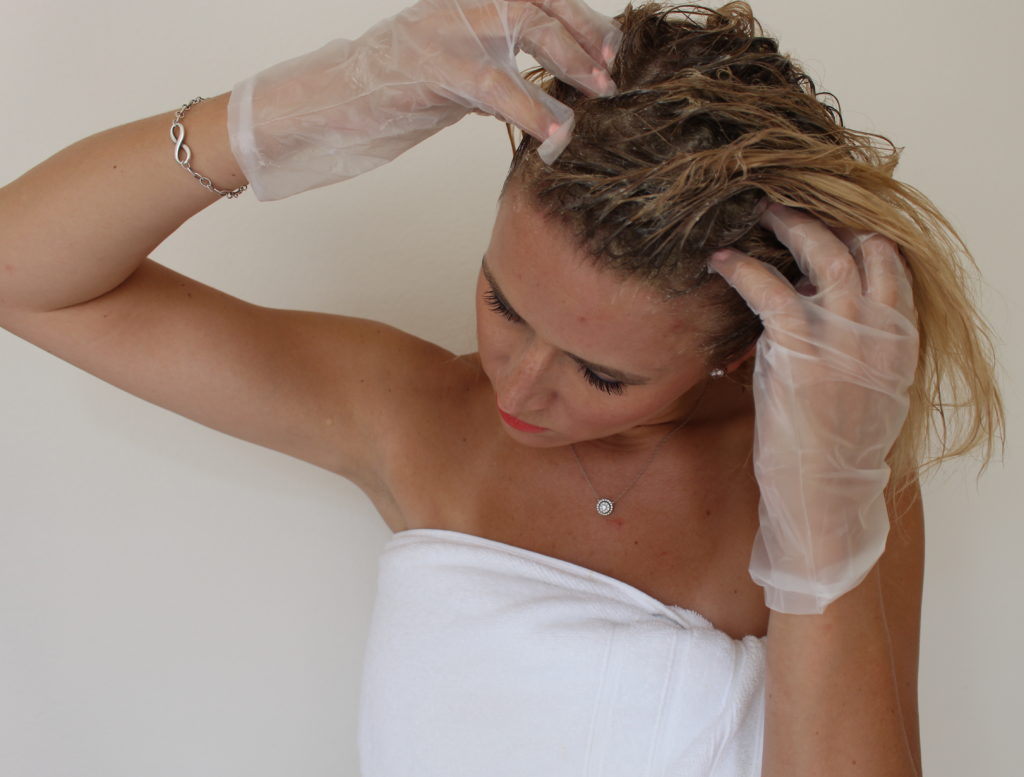 Afterward apply the remaining mixture onto the ends of your hair. Massage well and leave on for an additional 10 minutes. The total processing time should be between 30-45 minutes depending on the color intensity you want to achieve.
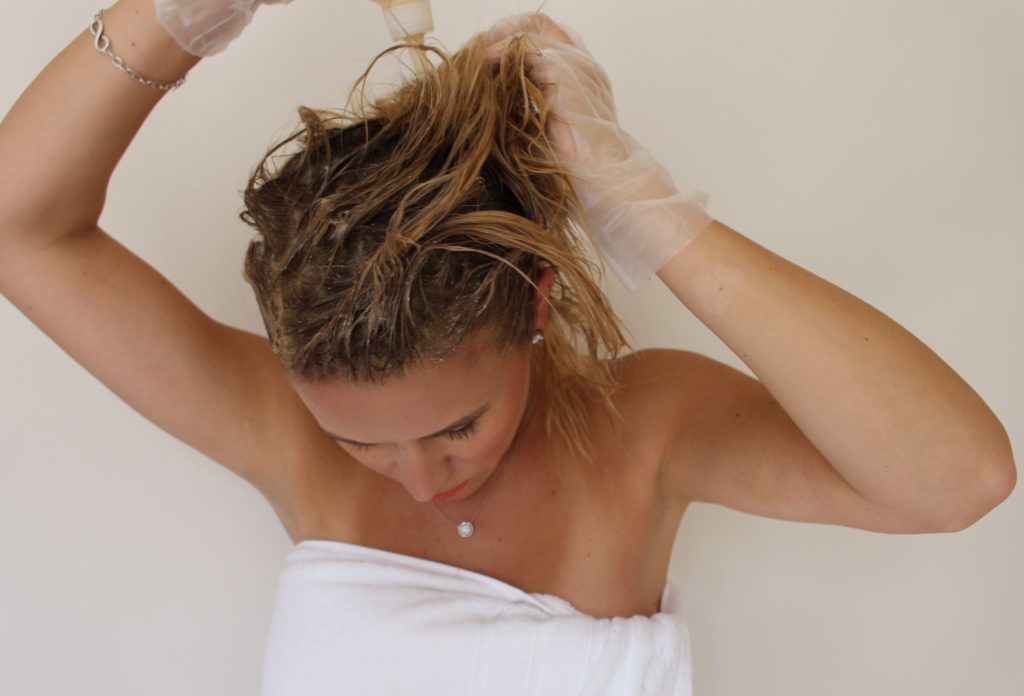
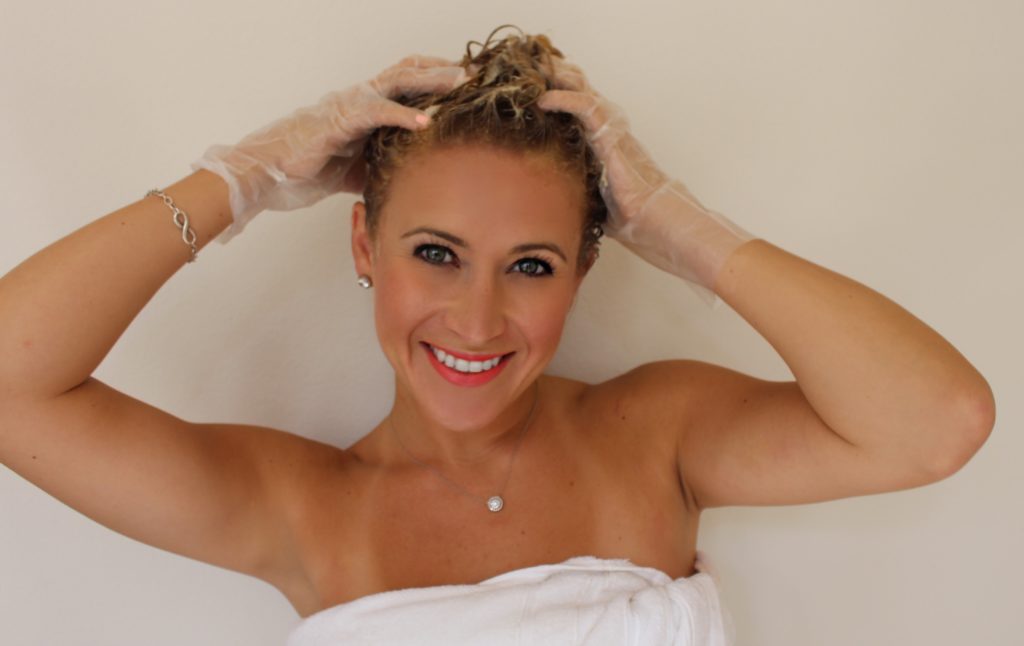 Step 4. Rinsing & After Care – Once your hair has processed, apply warm water to the hair and work into a lather. Continue to rinse until the water runs clear.
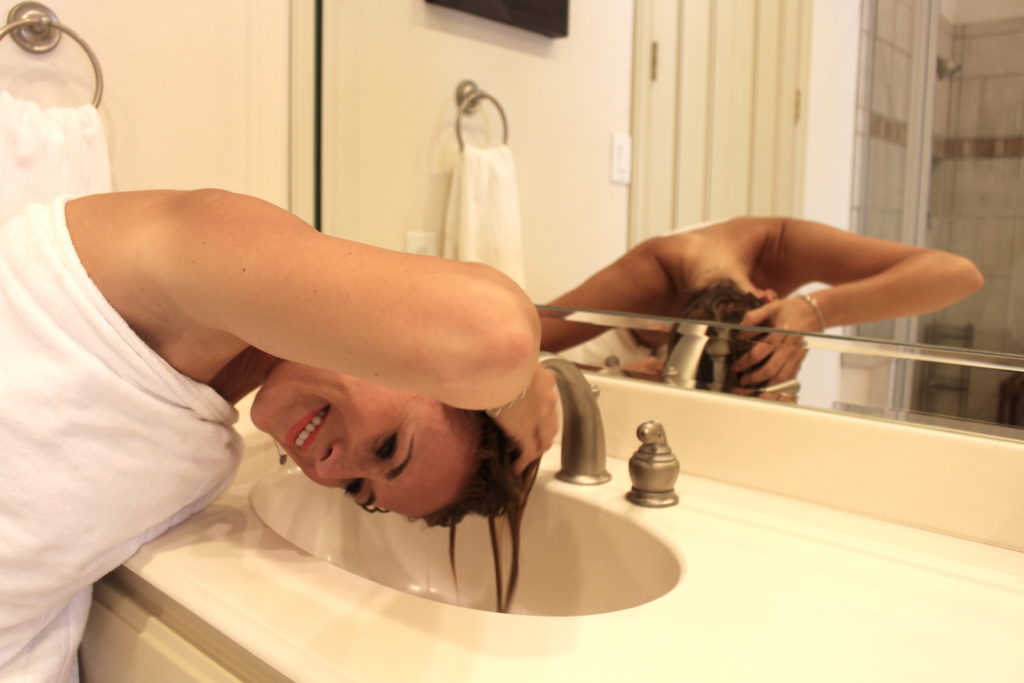
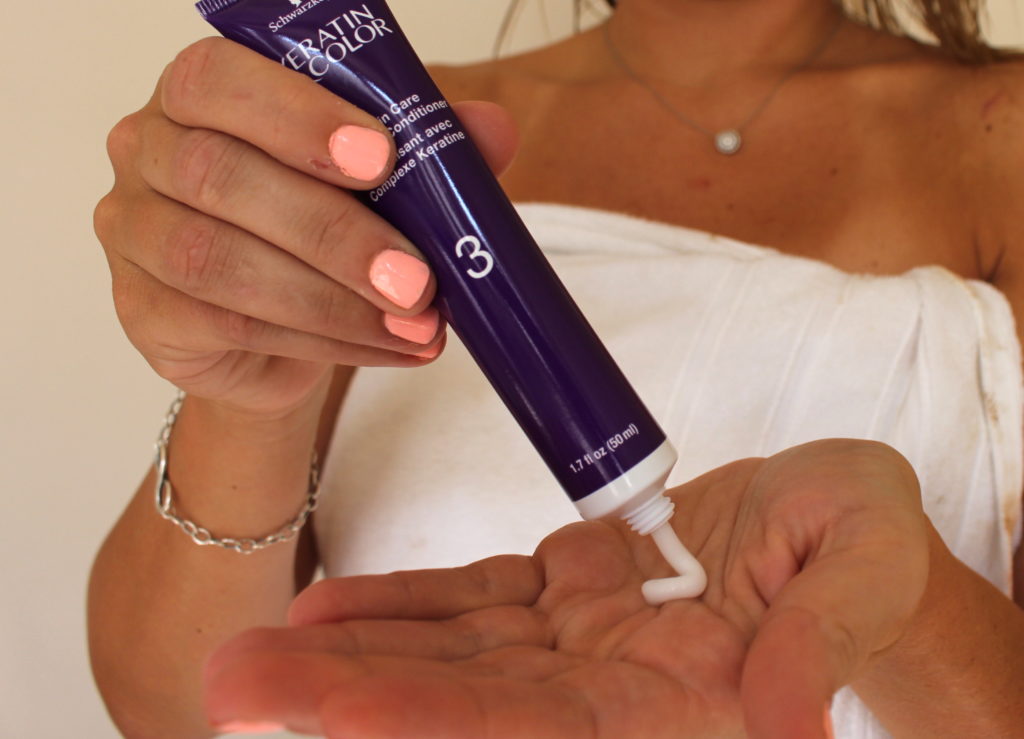
 After, massage the Keratin Care Complex Condition into towel-dried hair and leave it in for 2 minutes. Then rinse thoroughly.
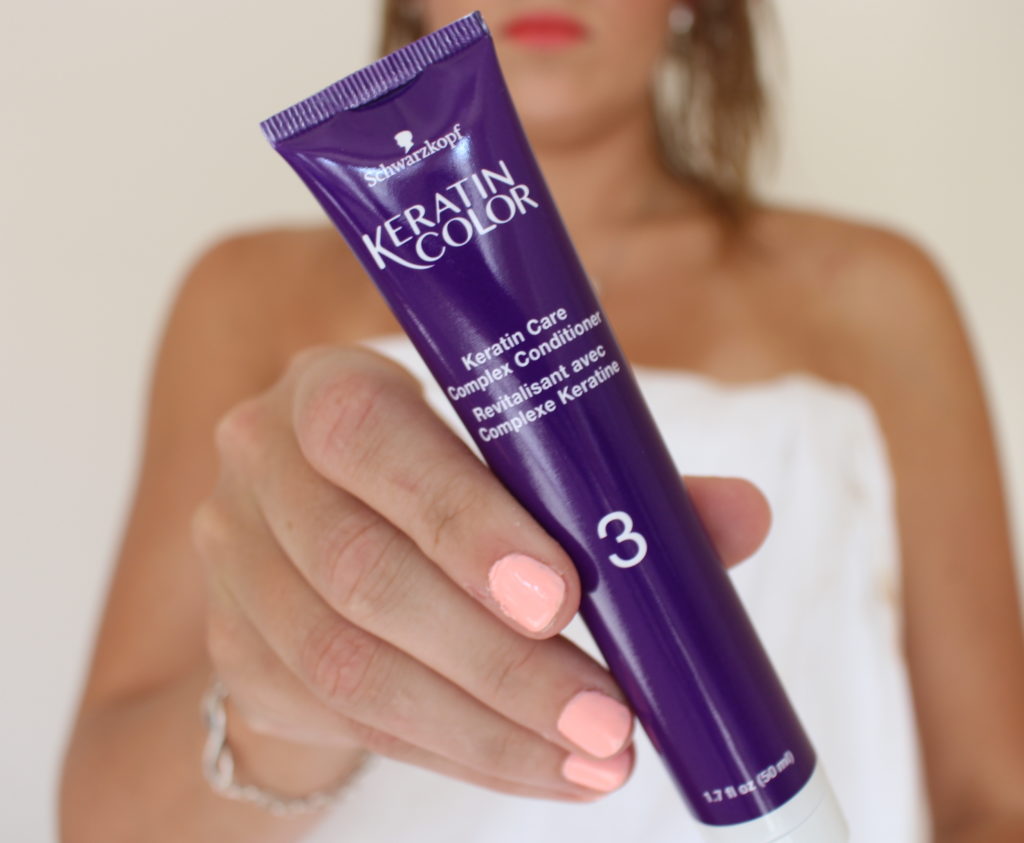
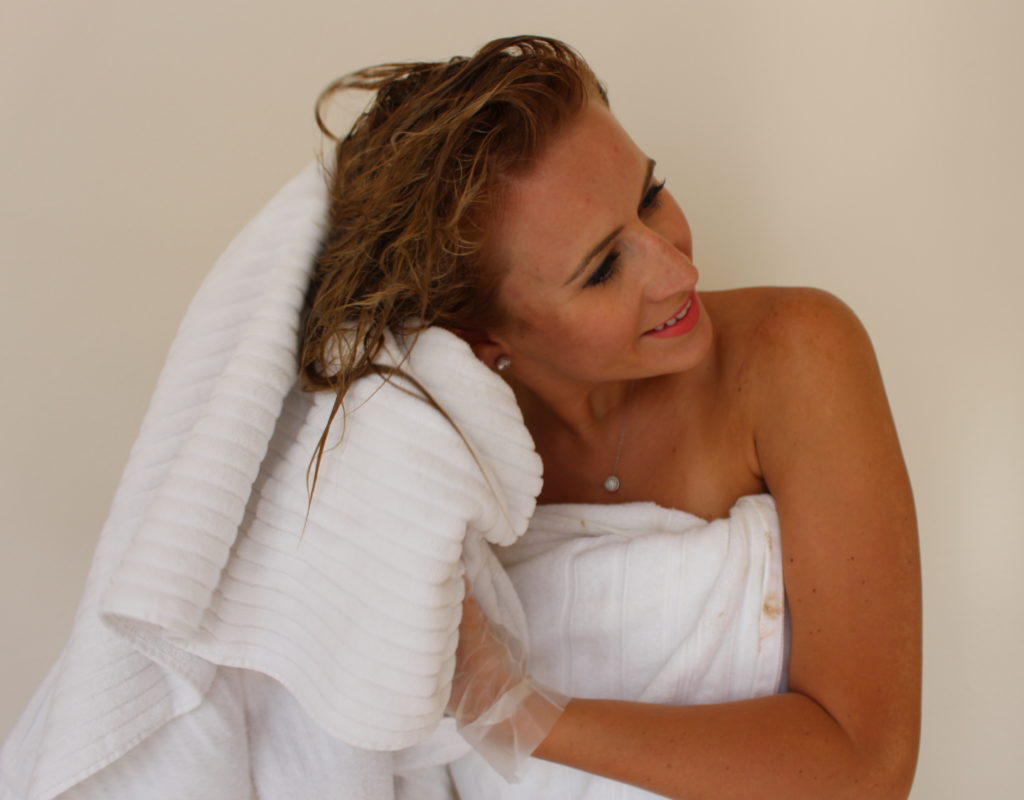
 Here is what my hair looked like once it had been towel dried.
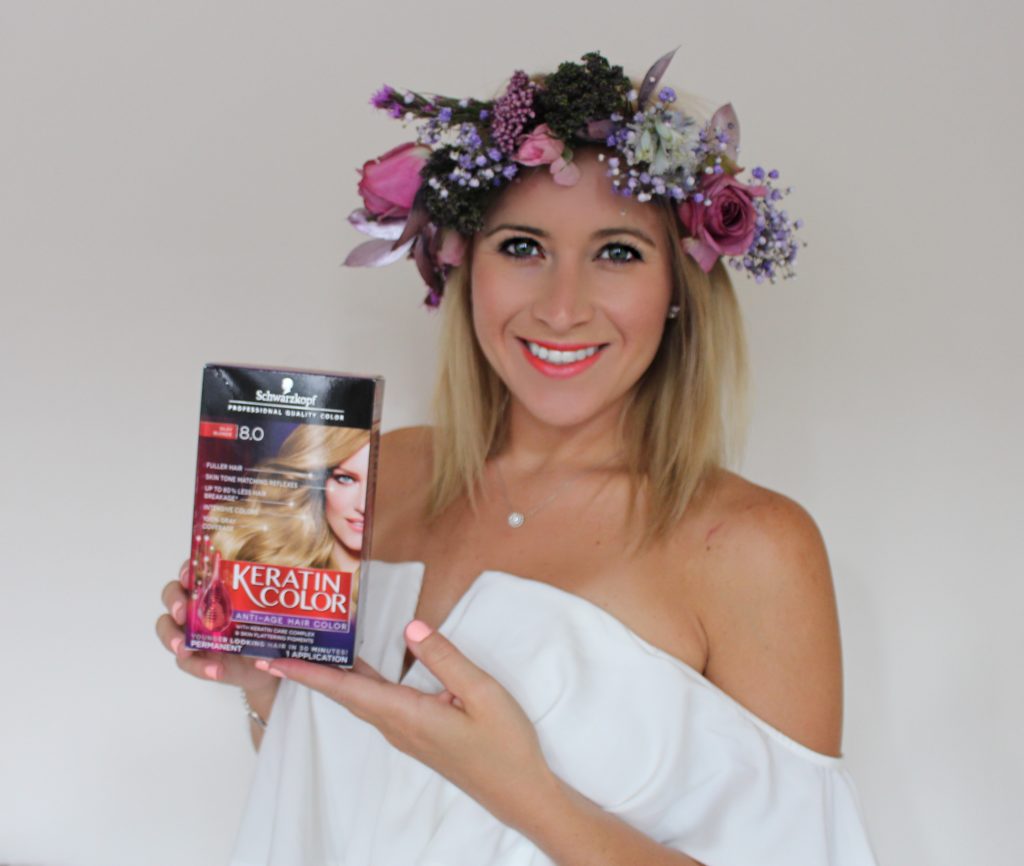
  Here is the end result once I had dried and styled it. I love the quality of Schwarzkopf Keratin Color, and how fresh it made my hair look.
Right now you can try Schwarzkopf Color for free with this rebate.
Now that my hair has shine and color again, it needs an accessory to show it off! If you follow me on Instagram, then you know I am a huge fan of flowers crowns, so I am going to show you how to make one at home. I purchased all the materials for this one at Walmart and the whole project costs me around $10 total.
You will need the following:
- sharp scissors
- twine or ribbon
- floral wire
- floral tape
- fresh flowers (a grocery store bouquet that has buds and fillers works perfectly)
 Step 1 – Cut a piece of twine that is long enough to be tied around your head. I usually make it extra long because you can cut off the extra twine at the end, or leave it long for more of a boho look.
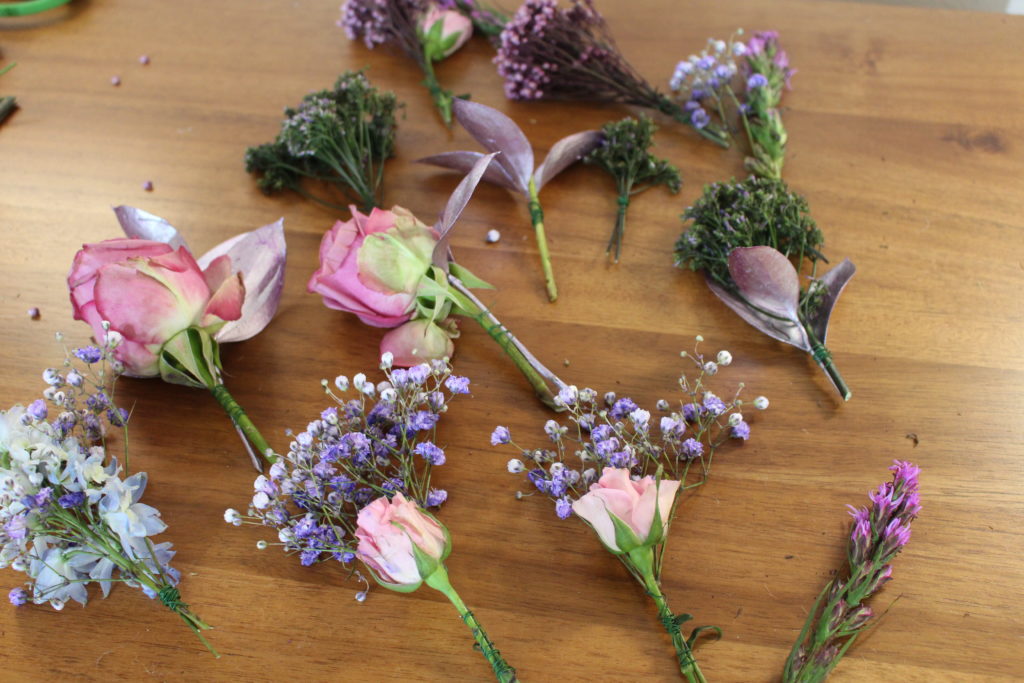
 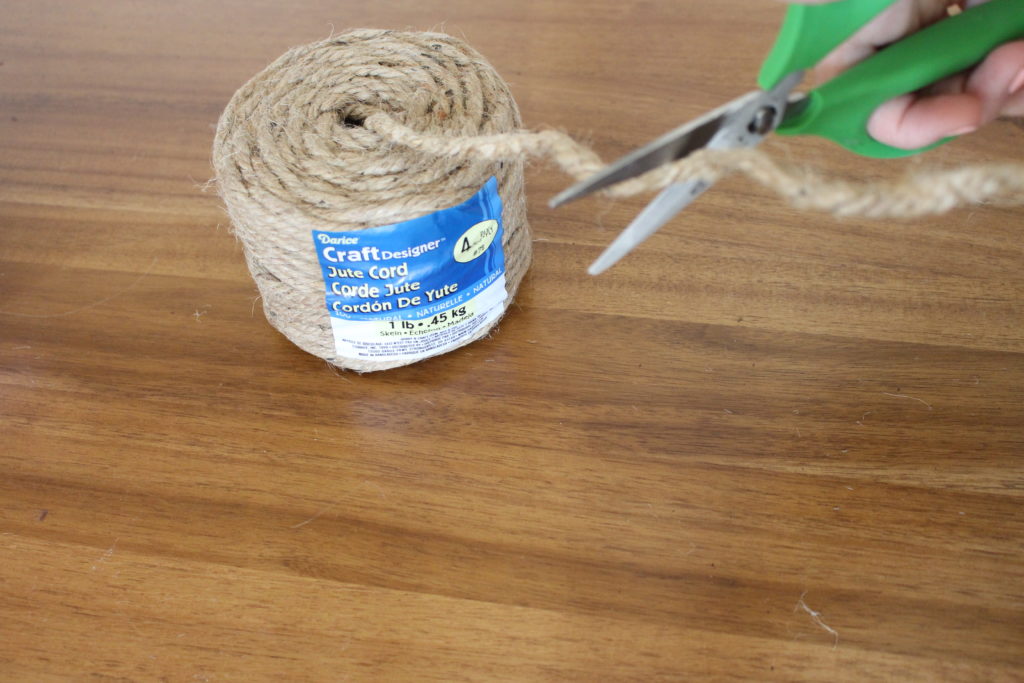 Step 2 – Cut down the stems of the flowers to about 2 inches long.
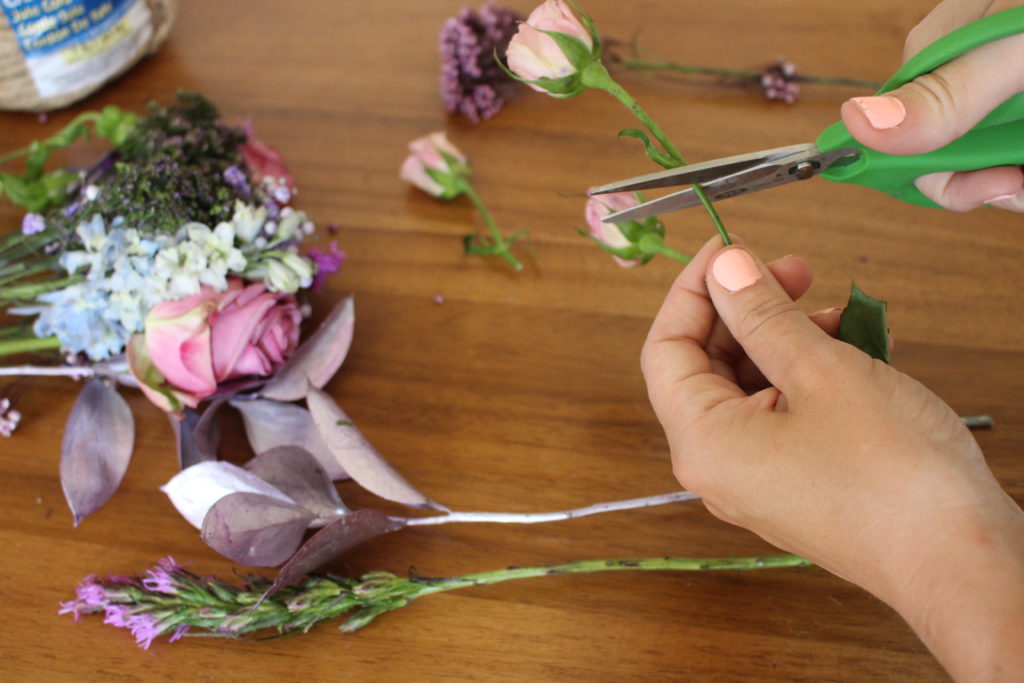
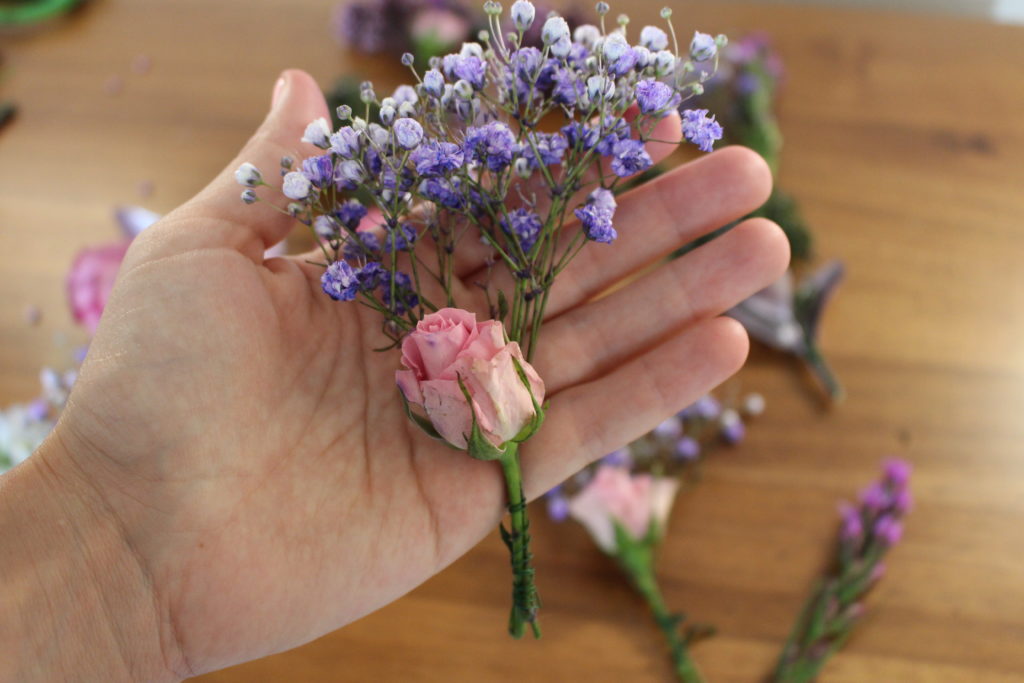
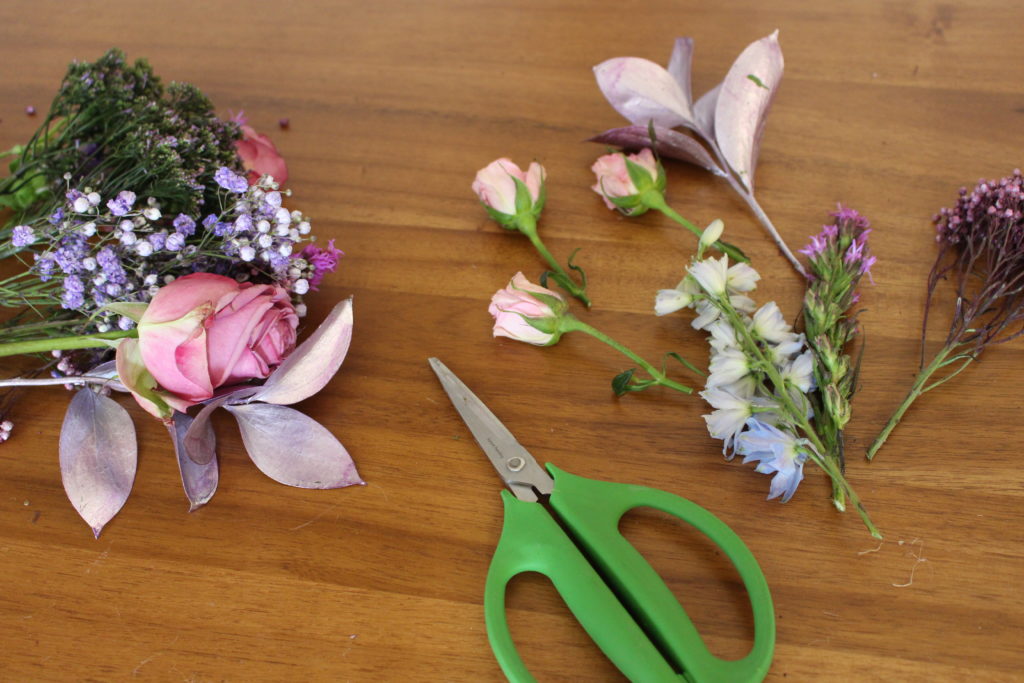 Step 3 – Pair buds and fillers together. Then wrap them with floral wire, to tie them together.
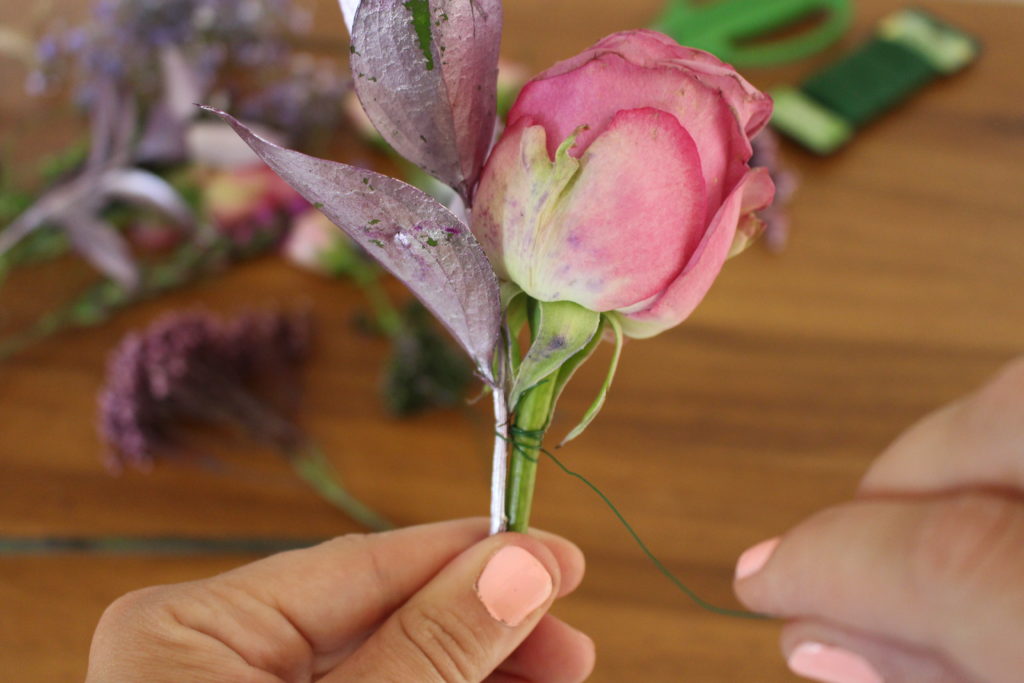
 Step 4 – Add the pairings to the twine with floral tape. Wrap the floral tape continually around the twine and stem until the stem is completely covered.
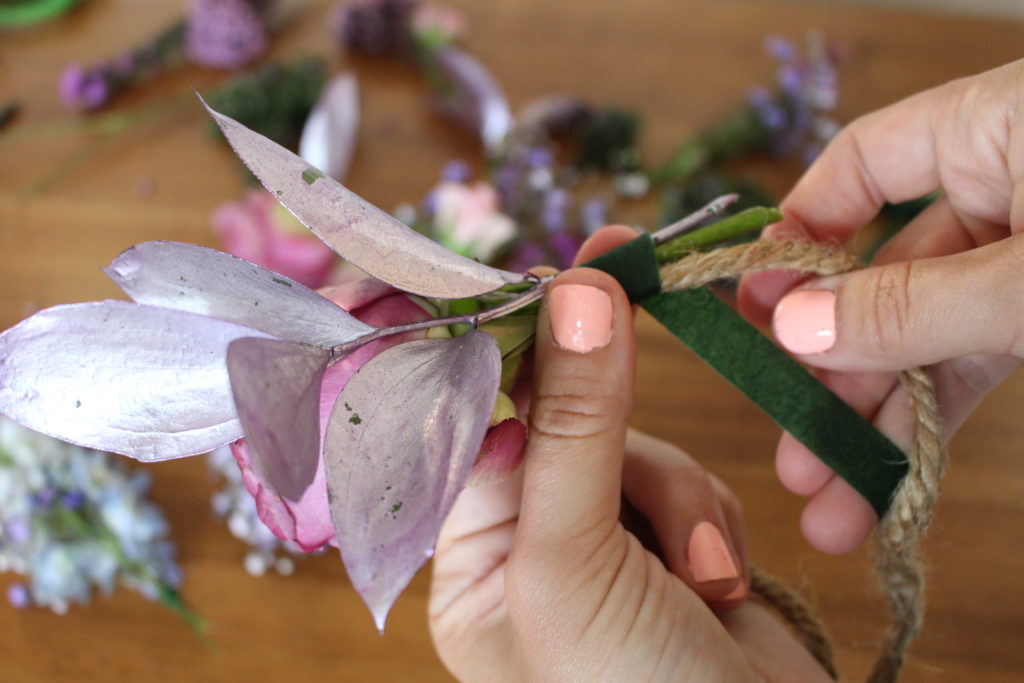
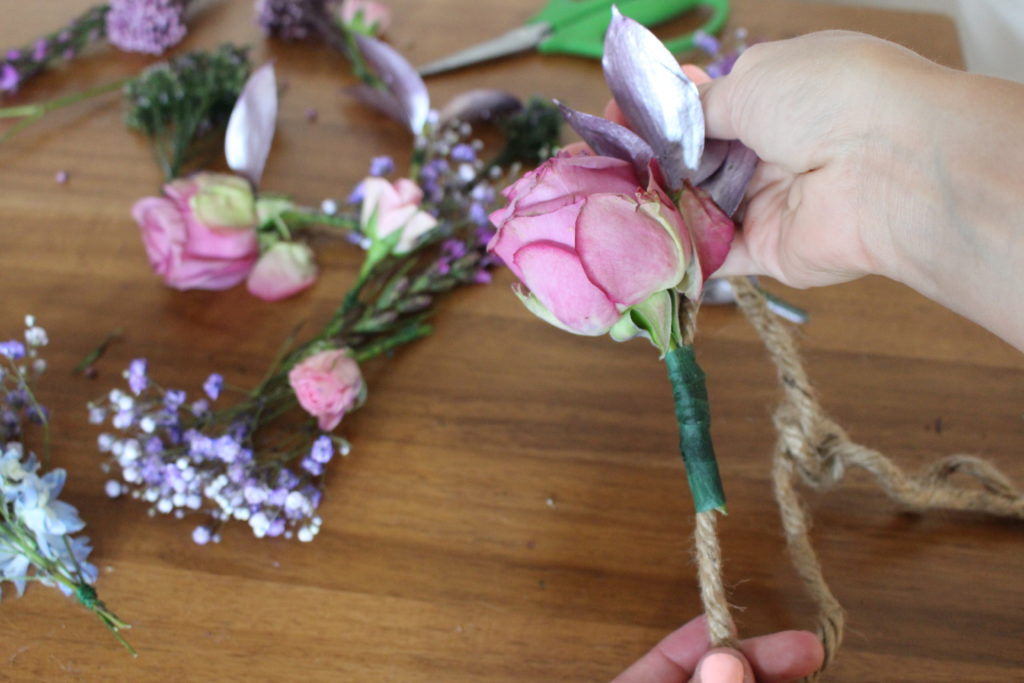 Step 5 – Continue to add each pairing until you have filled the crown and you are satisfied with the fullness. Make sure to add each paring in the same direction so that the crown will not have any gaps.
 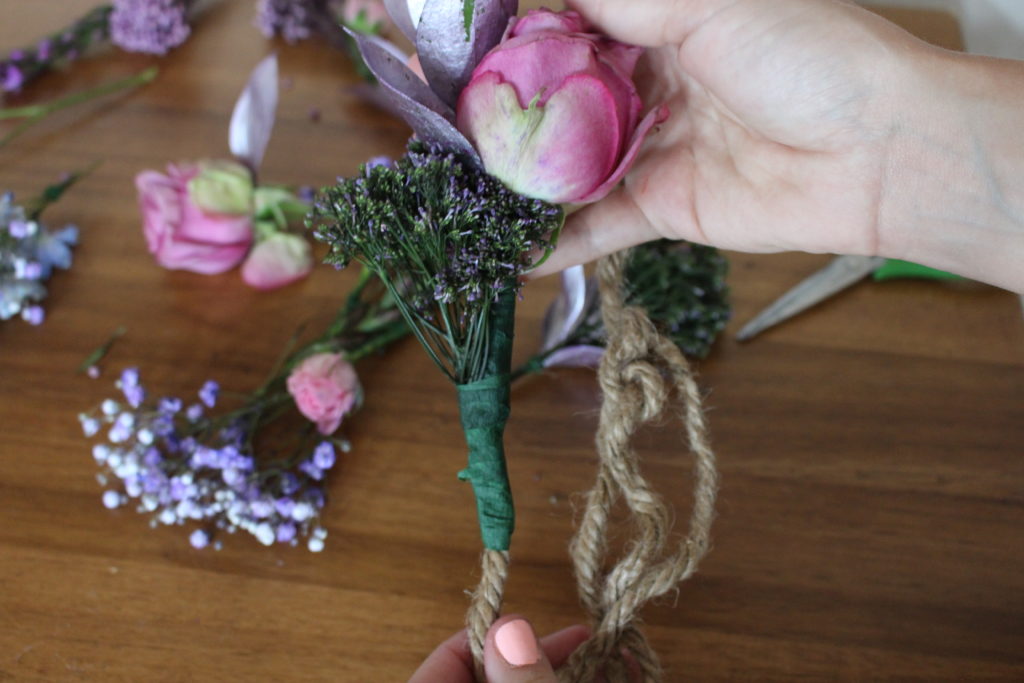 Step 6 – Tie off the twine to the measurement of your head and enjoy wearing your flower crown!
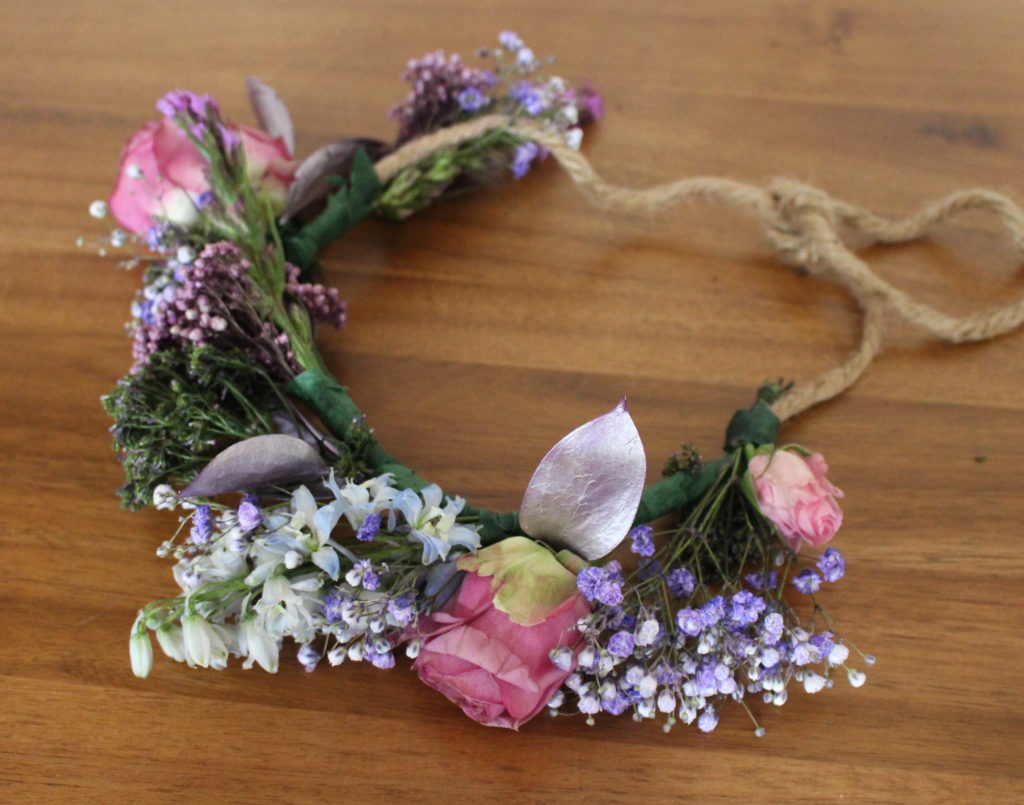


![]()


No Comments